 Up
Up
|
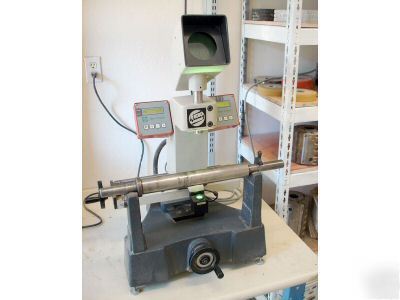
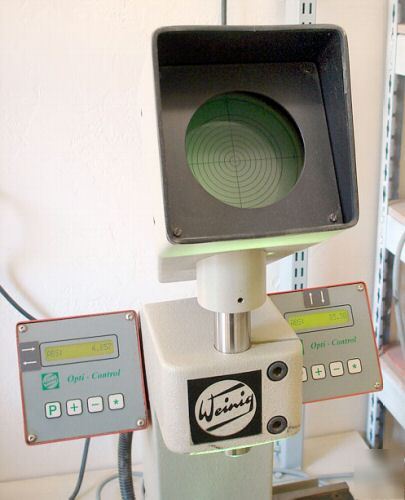
Weinig Optical Comparitor System Nice unit - Very Clean Like new - used Very Little - If the tool and profile dimensions are known, the machine can be positioned without the need for inefficient trial and error. Tool measuring is indispensible if you wish to reduce set-up times, ensure flexible production and eliminate material waste. 3 15/16" Min. and 11 13/16" Max. Tool Diameter The Measuring Stand Allows To Visually Establish the Tool Measurement No Setting Errors, No Expensive CNC Control Magnifier Screen Viewer with 20:1 Magnification The Cutterhead is placed on the tool post arbor, all the operator does is view the scope and moves the measuring carriage via precision dial left to right. Measured Values ( radial ) are displayed included axial, values and then dialed into SIKO digital readouts on Moulder. Measuring Range 5 7/8" max. radial and 12 15/16" max. axial. |


